< Previous | Contents | Manuals Home | Boris FX | Next >
When lenses have little distortion, it's difficult to accurately determine the optic center location in the image. That's inherently true for both calibration and for match-moving.
Here's a more direct way to determine the center. It's quick, simple, and easy to use on- set, using only inexpensive equipment.
NOTE : See the tutorial " Lens Centering and Distortion" on the website for another way to determine the lens of zoom lenses. Note that you can use the older or newer grid types with this method.
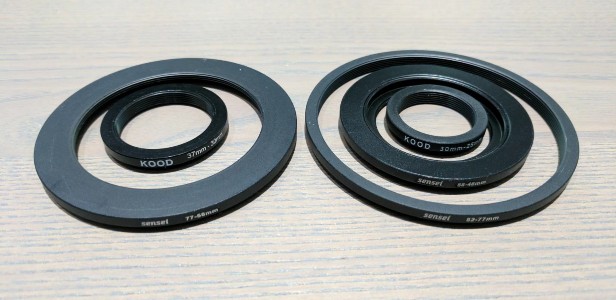
The idea is to add an artificial stop at the end of the camera lens, using lens filter step- down rings. The step-down rings are accurately machined, and maintain the centering of the lens axis. A handful of rings can encompass popular lens filter ring sizes. Here's what it looks like, unassembled and then assembled:


The ring stack is mounted on the end of the camera; then you image a nice white wall to obtain an image like this:

Next, you match a circle to this image. This can be done in the perspective view, locked to the image, with the perspective view's grid set to Camera. You can then shift-drag to create a disk to match up. Increase the number of segments to make the disk more round.

The lens center can now be determined by zooming into the center, putting the cursor there, and reading the UV coordinates from the status line.
Note that the image will be different depending on the focal distance, iris setting, and focal length (for zoom lenses). You may want to experiment to see if that changes the position, especially for zoom lenses.
©2023 Boris FX, Inc. — UNOFFICIAL — Converted from original PDF.